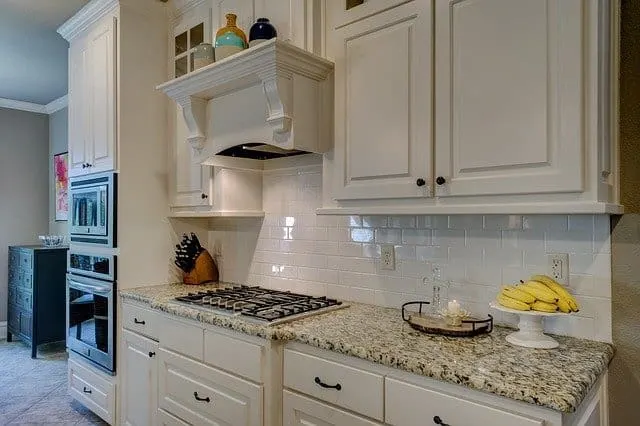
Range hoods are a piece of very helpful equipment in every kitchen. It can extract, absorb, and eliminate indoor fumes, odor, smoke, and air. Thus, it really helps keep the kitchen a clean and comfortable space to perform various tasks such as preparing hearty meals. You can really obtain multiple benefits and advantages when you opt to have a range hood in your kitchen.
Before you can achieve those, you must first install your range hood properly so it can do the job. To further assist you, here are a step-by-step guide that will serve as your reference:
Note: When installing a wall-mounted range hood, you’ll be needing assistance since the process should be executed by two people.
- To install a wall-mounted range hood, select a location where you want to place it first. Usually, it is always mounted along the inside of an exterior wall. However, there are certain factors to be considered.
First, you should ensure that there’s a ducted port. Second, see to it that the port directly connects and leads to the outside of the building since it is where the excess air and heat will be released. As such, it should be an open space on the other end.
- With the help of an assistant, ask him to hold the range hood against the wall of your chosen location. Once it has been properly placed, using a screwdriver and four screws, attach the range hood by screwing the four corners through the screw hole to mount the range hood on the wall. Ensure that it is properly screwed to prevent it from falling apart.
- At this point, you’ll be needing to turn off the power circuit of your entire circuit breaker to avoid any electrical accidents, as you’ll perform wiring tasks on the next step.
- To enable your range hood to work, you’ll have to locate a power supply for your range hood. It would be much easier if you wire it directly to a power supply. To do so, prepare a length of wire that can be connected from your range hood to your power supply. Usually, you’ll have to remove the cover of the wire to easily access the three wires in colors black, white, and green.
- To expose those, strip ½ inch of the rubber cover of the wire using wire cutters. The same goes with the ends of the power supply wire. Once all wires and both ends have been exposed, you’ll now have to match the wires by color to color. Once it has been matched and placed together on their corresponding colors, screw them together in a clockwise position and ensure that it is tightly screwed. The same process should be done on the other end. It should be tight and secured to ensure that it will work.
- Once all the wires have been connected, turn on the circuit breaker in the fuse panel and check if the range hood is functioning properly.
Final Words
Although there are services that can help you in installing your range hood, you can actually do it yourself with a little help. Thoroughly follow all the instructions mentioned above to ensure safety while doing the process.
- Sagittarius Man & Gemini Woman Love and Sex Compatibility - January 31, 2024
- Taurus Ascendant Rising Personality Traits in Men (Guide) - January 31, 2024
- How to Seduce and Attract a Sagittarius Man (Seduction Tips) - January 31, 2024
